Setting Up an Account and Course
Creating an ISLE Account
If you do not have an ISLE account, the first step is to create one so that you can make a course, add students, and upload lessons. To create an account, go to https://isle.stat.cmu.edu/dashboard/ and click Sign up. Then enter your name, email address, and desired password, and click Sign up.
Logging In
Once you have an account, you can log in at https://isle.stat.cmu.edu/dashboard/. Logging in will take you to your ISLE dashboard; the first time you log in, your dashboard will be empty except for your user profile and will look something like this:
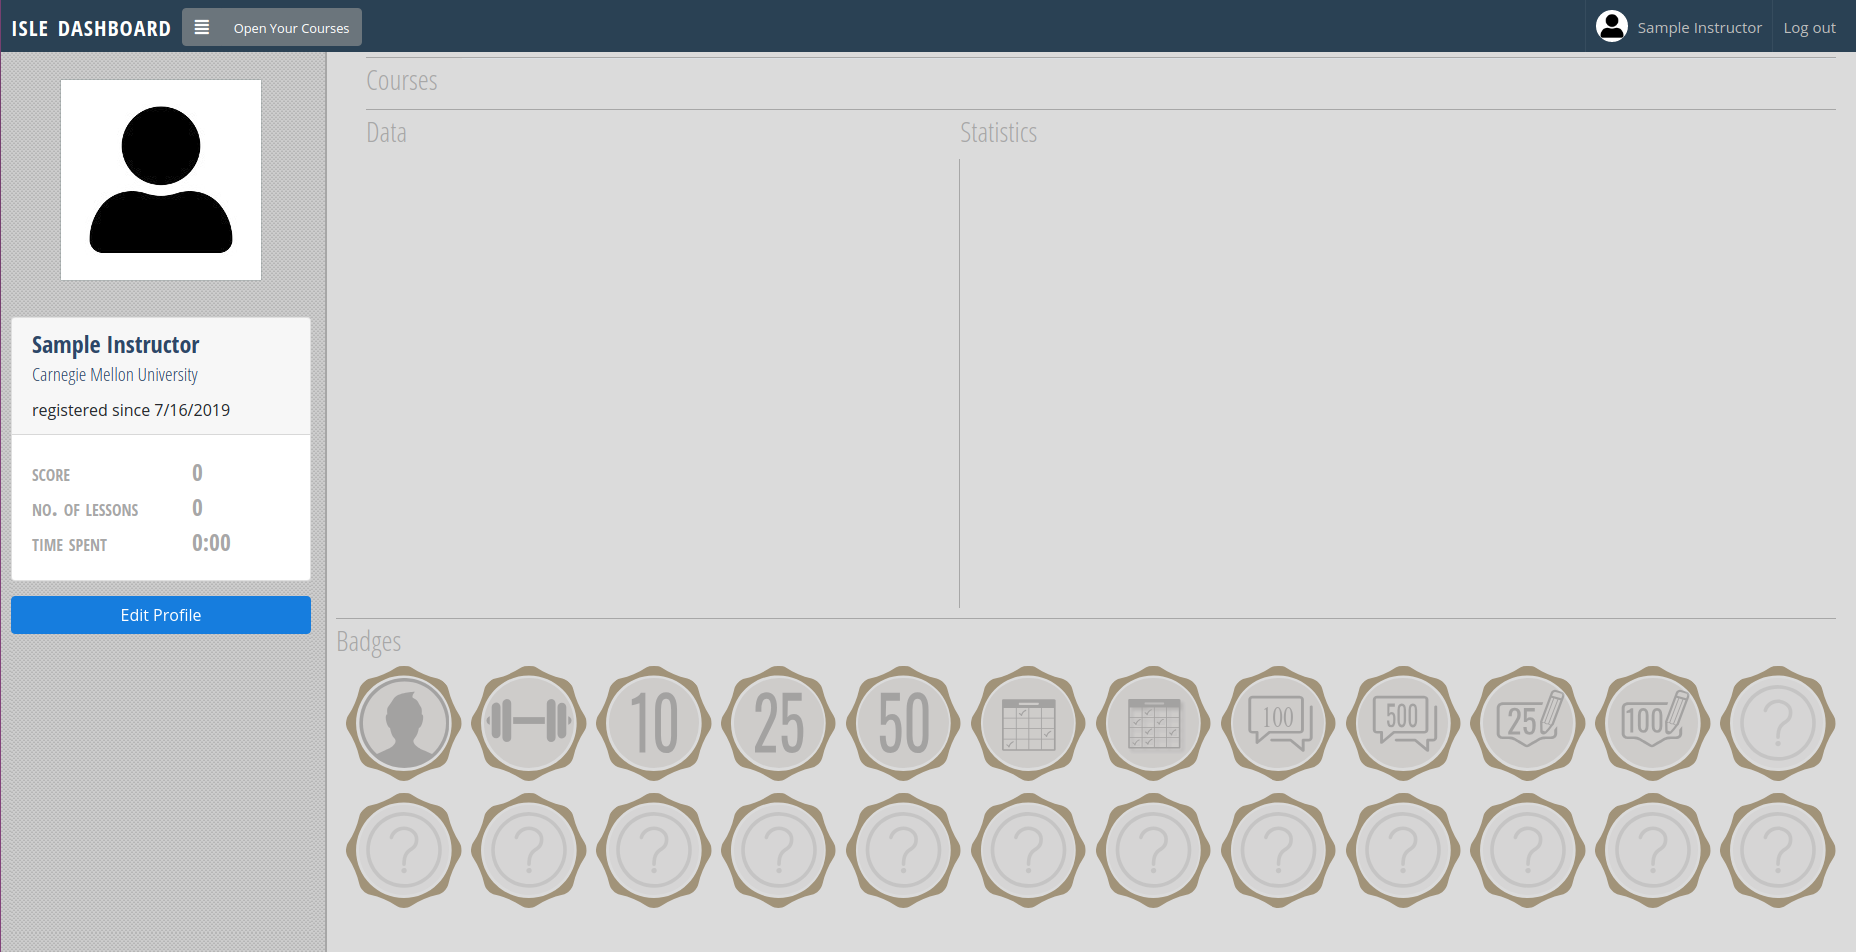
If you are already part of a course, you might not see your profile when you log in. To view your profile, click your name in the top right, next to the Log Out button.
Instructor Access
As you can see in the image above, when you first make an account you will not have instructor access to ISLE. Creating and managing a course requires instructor access:
- Contact your ISLE administrator to obtain a write-access token or ask them to directly grant you instructor privileges.
- If you have received a token, navigate to your profile by clicking your name in the top right of the ISLE dashboard (next to the Log Out button).
- Click Edit Profile, on the left of the page.
- Click Get Instructor Access.
- Enter the write-access token and click Submit.
Creating a Course
Next, you'll want to make a course.
- Click on the blue Create a new course button in the top bar of the dashboard (pencil symbol).
- Enter a Title for the course.
- Enter a Description of the course.
- Click Create.
Cohorts for Student Enrollment
To make a course visible for students to enroll, we also need to create one or more cohorts. When students enroll in the course on ISLE, they will select from the cohorts available. Making multiple cohorts is useful if your class has different lab or lecture sections, in which case we recommend making a cohort for each section. Even if you will only have one cohort, that still needs to be created so that students can enroll in the course.
To create a cohort:
- Select your course from the dropdown menu (the four horizontal lines in the top bar of the dashboard).
- Click Edit Course (blue symbol of pencil in square).
- Under Manage Cohorts click Create Cohort.
- Enter a title for the cohort and choose start and end dates.
- You can manually add students by entering their emails, or you can leave this field blank and have them enroll on their own. Multiple students can be added to the cohort at once by pasting a comma-separated list of emails into the select box. In case you add an email address not associated with an ISLE account, the student will automatically have a generated user account and receive an email with instructions to complete registration on the start date of the cohort.
- By default, once a cohort has been created students can manually enroll in that cohort. To keep the cohort private, click the Tick to prevent students from enrolling box.
- You may add an optional email filter (generally recommended). Only accounts created with an email containing this expression can enroll in the course. For example, to make the course available only to students of Carnegie Mellon University, I could enter andrew.cmu.edu into the filter. This allows you to require students to use their school email address, for example, which is very helpful for attributing ISLE work to the correct student.
- Click Create.
Tip: it can be helpful to make a course or a cohort that students cannot enroll in, to post demo lessons or scratchwork for your own use.

Instructions for Students to Signup & Self-Enroll in a Cohort
- Go to the ISLE dashboard by opening the URL you have received in your browser
- If you do not have an ISLE account yet, click Sign up at the bottom of the welcome tile, otherwise log in with your credentials.
- Put in your name, email address (make sure to use the one matching your school account), and a password of your choice, and click Sign up. You will receive an email to confirm your email address.
- After signing into your account, click on the upper-left menu icon and then click on the green "Enroll" button.
- Select the course you want to enroll in and click "Enroll".
- A modal will appear asking you to choose a cohort. Select the cohort you want to enroll in and finish the process by clicking "Enroll in this course".
- After enrolling, you can navigate to the respective course via the menu icon and selecting it under the heading "Enrolled Courses".
Adding Course Administrators
You may want to give course administrator/owner access to someone else with an ISLE account, for example a TA or co-instructor. Course ownership is separate and distinct from ISLE instructor access: getting ISLE instructor access, through the use of a write-access token as discussed above, allows the user to create and manage a new course, whereas course ownership allows the user to edit an existing course. Users can be course owners without an ISLE write-access token, and conversely users with ISLE instructor access cannot edit your course unless you give them ownership.
To add a user as a course administrator/owner:
- Select your course from the dropdown menu.
- Click Edit Course (blue symbol of pencil in square).
- Under Owners, type the account email address of the desired user.
- Press Enter, so the email address is displayed in grey with an 'X'.
- Click Update.
To remove an owner, click the 'X' next to their email address.
Adding Lessons
Once your course is set up, you'll want to add lessons (these could be projects, labs, homeworks, lecture notes, etc). There are currently two ways to add lessons: importing existing lessons from the Gallery, and uploading lessons using the ISLE editor. Subsequent tutorials will teach you how to use the ISLE editor, so here we'll just cover how to import an existing lesson.
- Click on the blue Gallery button in the top bar (eye symbol).
- For the desired lesson, click Import.
- Choose the course to import the lesson to, and the lesson name.
- Click Import.
To see the lesson now in your course, select your course from the drop-down menu. You may need to refresh the page first.