Introduction to the Editor
The ISLE editor is where you will write and export lessons. This tutorial will familiarize you with the layout and components of the editor itself, and in subsequent tutorials you will learn the powerful tools the editor provides.
Creating and Opening ISLE Documents
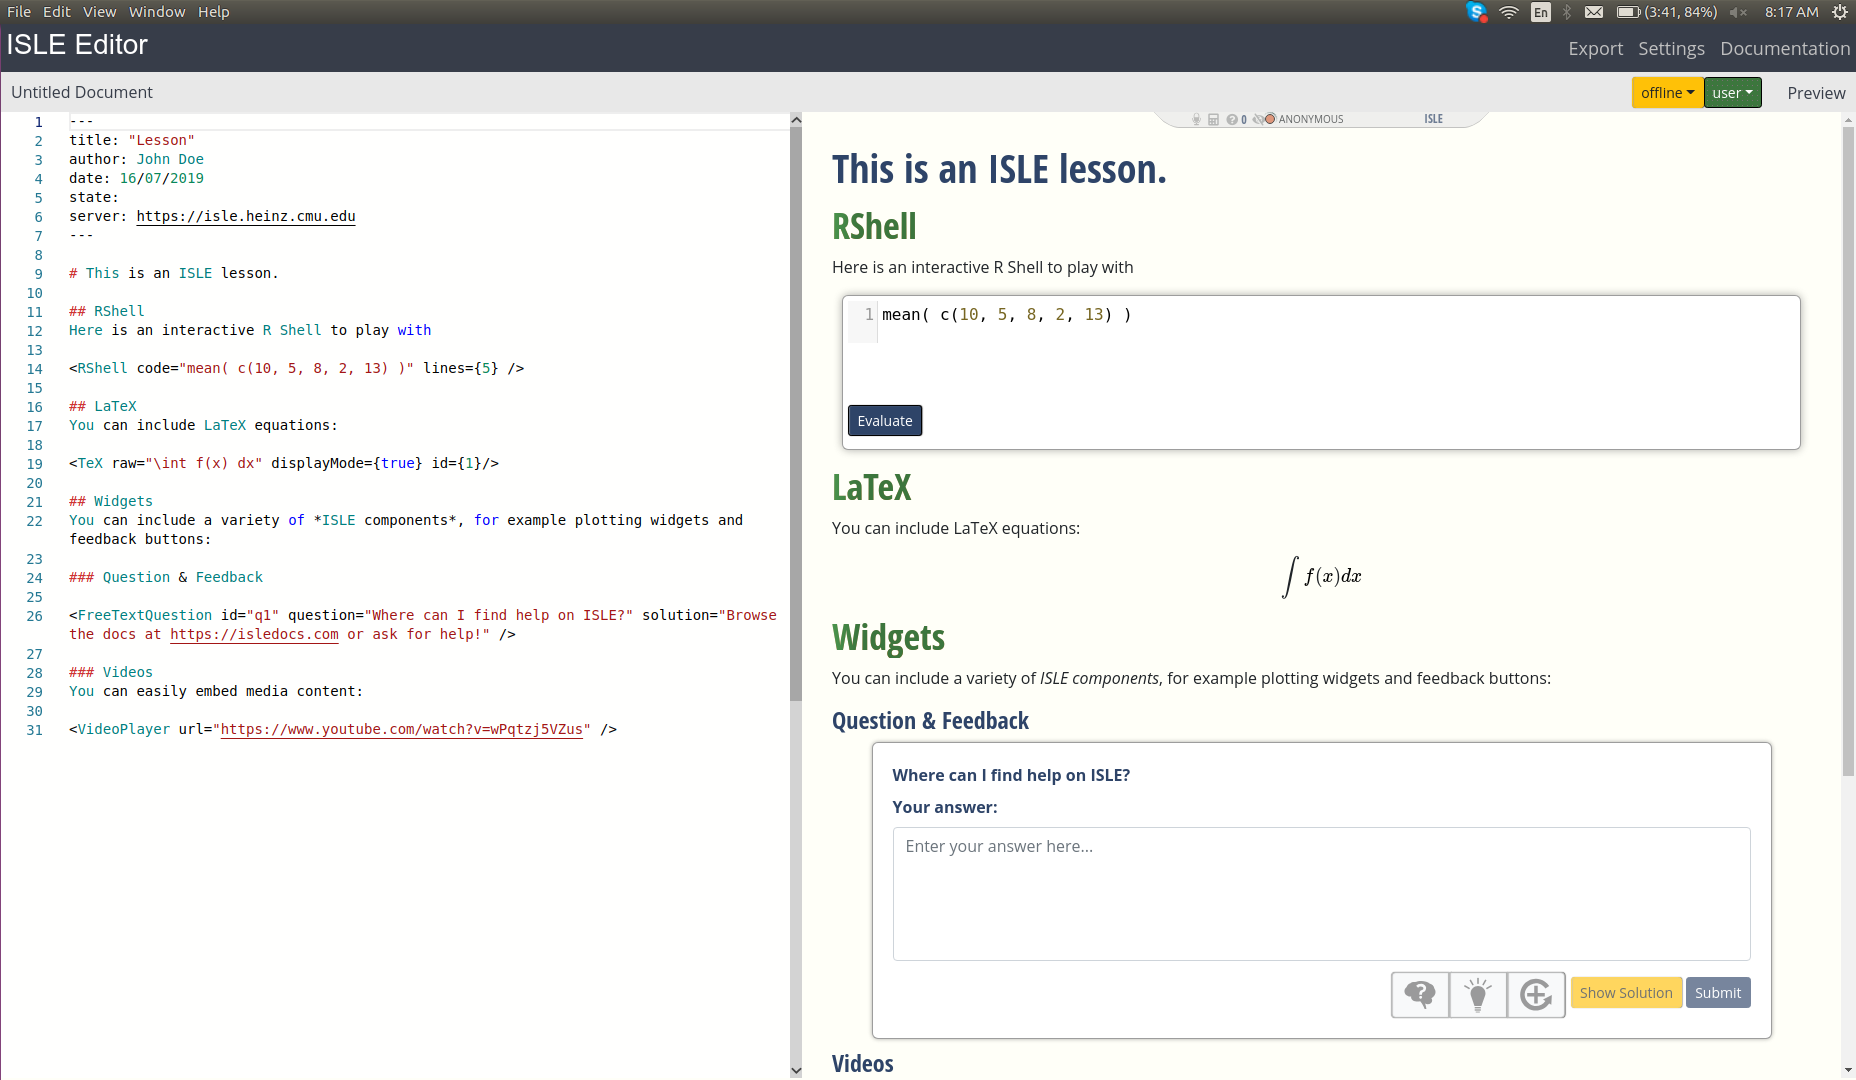
When you open the editor for the first time, you will see an untitled example lesson, showing you some of the features that can be included, such as an R shell, LaTeX equations, widgets, and videos.
If you have previously used the ISLE editor, it will instead open the last document you worked on. To open a new blank document, use File -> New File. To open an existing document, use File -> Open File. And to save a new ISLE file, use File -> Save File As; you will notice that ISLE files have the .isle extension.
Anatomy of the Editor
The editor is divided into two panes. On the left is the raw text that gets compiled into exportable ISLE lessons which you can upload to your course, and on the right is a live preview of the compiled lesson. Note that you can interact with the live preview just as you will with the exported ISLE lesson.
The syntax for writing in ISLE uses HTML and Markdown, and supports LaTeX equations. By default, all standard HTML tags are supported, but in addition it is also possible to insert custom ISLE tags which insert highly interactive and customizable elements into the lesson. An overview of writing text in ISLE can be found in the Text tutorial.
File Preamble
At the top of an ISLE file is a YAML preamble, bounded by lines of three hyphens at the top and bottom. The preamble contains a variety of meta-information on the lesson, as well as variables that can be manipulated. Basic meta-information includes the title, author, and date of creation. These can be edited as desired. Other important components of the preamble, which we will cover in subsequent tutorials, include state and require.
Linking to your ISLE Account
Before you upload your first lesson, you need to link your local ISLE editor with your online ISLE account.
- In the top right of the ISLE editor, click Settings
- Under Server Address, enter the url for the ISLE server on which you have an account. Unless you have specifically set up a different server, this will be
https://isle.stat.cmu.edu - Under Email enter the email you used to create your ISLE account.
- Under Password, enter the password you use for your ISLE account.
- Click Connect.
You've now linked your editor to the server to which you will upload ISLE lessons.
Exporting/Uploading the Lesson
Once you've written a lesson, you can export it. To upload the lesson to your course's ISLE dashboard:
- Click Export (in the top right of the editor window).
- Under Upload Lesson, select the course.
- Enter a name for the lesson.
- Decide whether to minify code. The final version that students will use should have this option checked, as it will help the lesson load and run quickly. We recommend keeping this checked by default.
- Decide whether to Load ISLE resources from CDN. This option should be kept checked so that resources may be shared across various lessons.
- Click Upload.
Don't worry if it takes a little bit for the lesson to upload, and bigger lessons will take longer to upload. To return to editing the file, click Return to Editor (in the top right).
Note on saving: it is possible to upload a lesson without saving the ISLE file. Remember to save your work as well as upload!
In case the file contains unsaved changed, a grey circle will be displayed next to the filename in the upper-left corner of the editor.
Your Turn
Here are some things to try in the editor:
- Create a new file and save it as "first_lesson.isle" in a desired directory.
- Change the video link to a different video. For example, you might use this Hans Rosling TED talk.
- Change the text of the free text question, so that the question reads "Who was Hans Rosling?"
- Change the solution to the free text question, so the solution answers the new question.
- Save your file, then upload the lesson to your ISLE course.